Chiles Rellenos
Happy Cinco de Mayo Whimzies!
In the spirit of the 5th day in May (taking a break from our royal festivities to celebrate a day of fun fiesta), I decided to share a small "snippit" of this holiday's history before we get to the recipe:
Cinco de Mayo is the celebration of freedom from a different oppressive European empire: France.
Today, Cinco de Mayo is celebrated widely in the United States with parties and parades. Surprisingly, the holiday was invented in modern-day California in 1863, and has continued to be celebrated in the United States, but is almost completely ignored in Mexico. Only a few states, including Puebla, recognize it.
Nonetheless, Cinco de Mayo continues to be a strong tradition for Mexican-Americans to express great pride for their homeland, their people and their history.
One of my favorite Mexican dishes? Yep you guessed it! Chiles Rellenos...and this recipe looks "delicioso!"
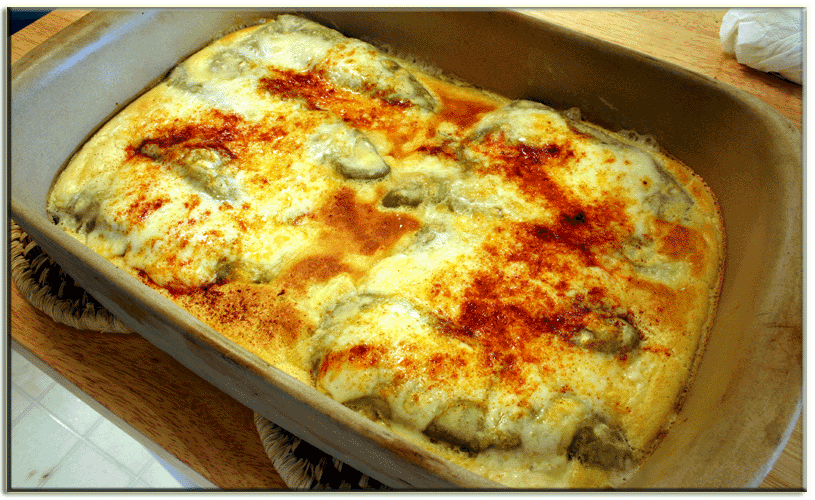
Ingredients | |||
8 | Each | Whole Fresh Anaheim or Poblano chilies, or whole canned green chilies | |
8 | Ounces | Monterey Jack cheese (4 ounces cut for stuffing and 4 ounces shredded) | |
Batter: | |||
2 | Each | Eggs, separated | |
2/3 | Cup | Flour | |
2/3 | Cup | Milk | |
½ | Tsp | Salt | |
1 | Tbsp | Olive Oil | |
Salsa Verde: | |||
½ | Tbsp | Olive Oil | |
2 | Lbs. | Tomatillo, hulled and diced | |
1 | Cup | Onion, diced | |
1 | Tbsp | Garlic, minced | |
1 | Tsp | Chili powder | |
2 | Cups | Chicken or vegetable stock | |
To taste | Salt and black pepper | ||
Preparation Steps (Note: Pre-heat oven to 400° F.) | |||
1. | Fresh Chilies: If you are using fresh whole Anaheim 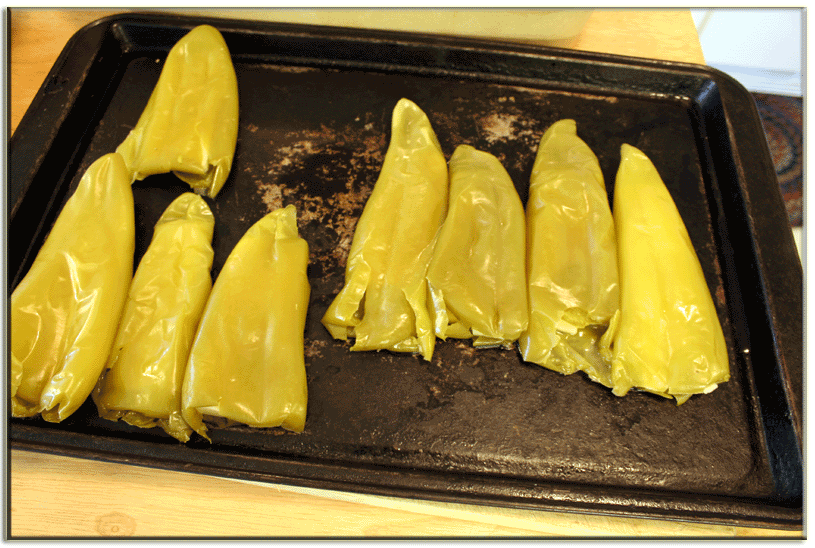 or Poblano chilies then the stem and seeds will need to be removed. Using a paring knife cut a circle around the top stem area of the pepper and then twist off the stem cap. Then carefully remove any excess seeds that are inside the pepper. Add 2 quarts cool tap water to the 4 quart sauce pot and add a little salt then add the cleaned Anaheim peppers. Bring to a boil and then reduce heat to a simmer until peppers are soft, or about 30 to 40 minutes. Drain peppers or Poblano chilies then the stem and seeds will need to be removed. Using a paring knife cut a circle around the top stem area of the pepper and then twist off the stem cap. Then carefully remove any excess seeds that are inside the pepper. Add 2 quarts cool tap water to the 4 quart sauce pot and add a little salt then add the cleaned Anaheim peppers. Bring to a boil and then reduce heat to a simmer until peppers are soft, or about 30 to 40 minutes. Drain peppers 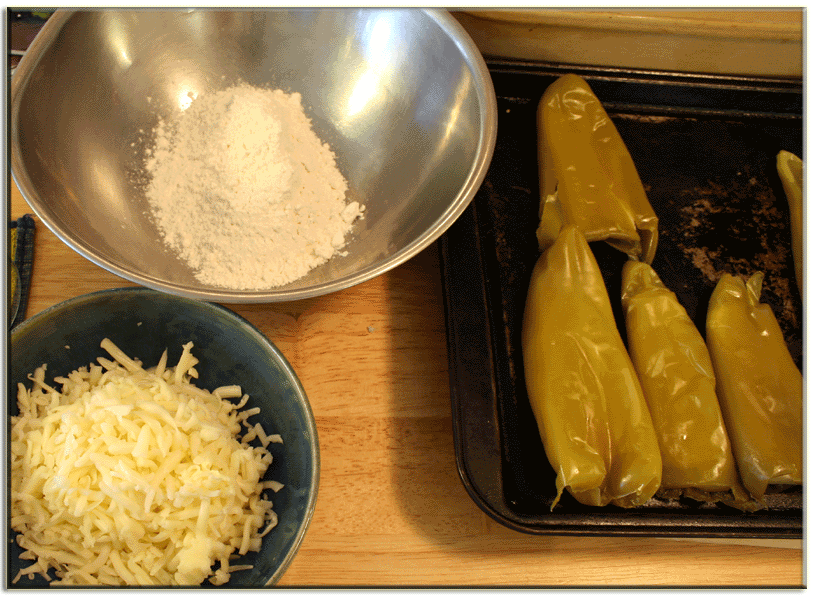 and allow to cool completely. If using canned whole green chilies start at step 2 below. Place the chilies on the sheet pan to ensure they are whole and intact. You will find that in most cases the canned green chilies tend to be very delicate and break easily, handle them with great care when taking them out and un-folding them in preparation for stuffing. (See Anaheim chilies in the above image) and allow to cool completely. If using canned whole green chilies start at step 2 below. Place the chilies on the sheet pan to ensure they are whole and intact. You will find that in most cases the canned green chilies tend to be very delicate and break easily, handle them with great care when taking them out and un-folding them in preparation for stuffing. (See Anaheim chilies in the above image) | ||
2. | Stuffing: With half of the Jack Cheese cut 16 finger length sections (approx. 1/2” X 3” each) and gently insert two pieces into each of the 8 chilies. Take the remaining half of the Jack cheese and shred it for later use. | ||
3. | Batter: 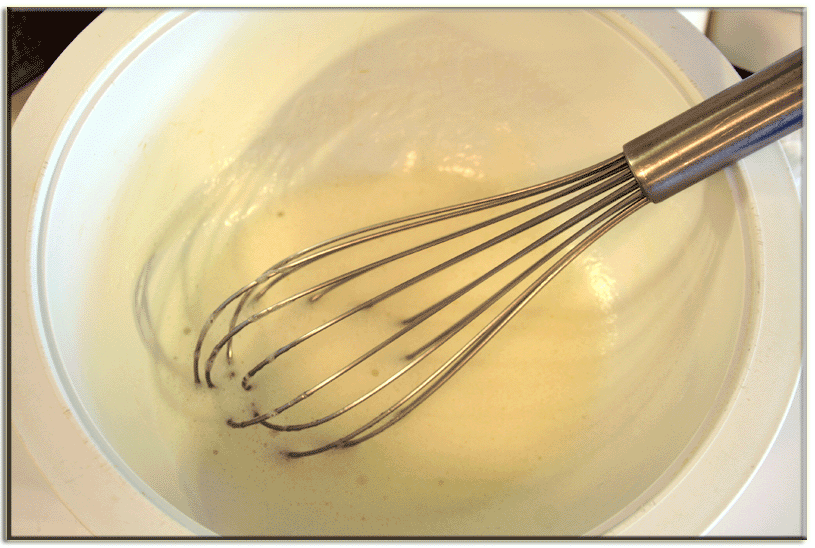 In a small mixing bowl blend the egg yolk, milk, flour, salt and olive oil until smooth. Allow to rest for at least 20 minutes then blend again for a few more seconds. In the meantime in a separate mixing bowl beat the egg whites until stiff but not dry to a soft peak stage. Keep the separate beaten egg whites ready, we will get back to them soon. In a small mixing bowl blend the egg yolk, milk, flour, salt and olive oil until smooth. Allow to rest for at least 20 minutes then blend again for a few more seconds. In the meantime in a separate mixing bowl beat the egg whites until stiff but not dry to a soft peak stage. Keep the separate beaten egg whites ready, we will get back to them soon. | ||
4. | Sauce: 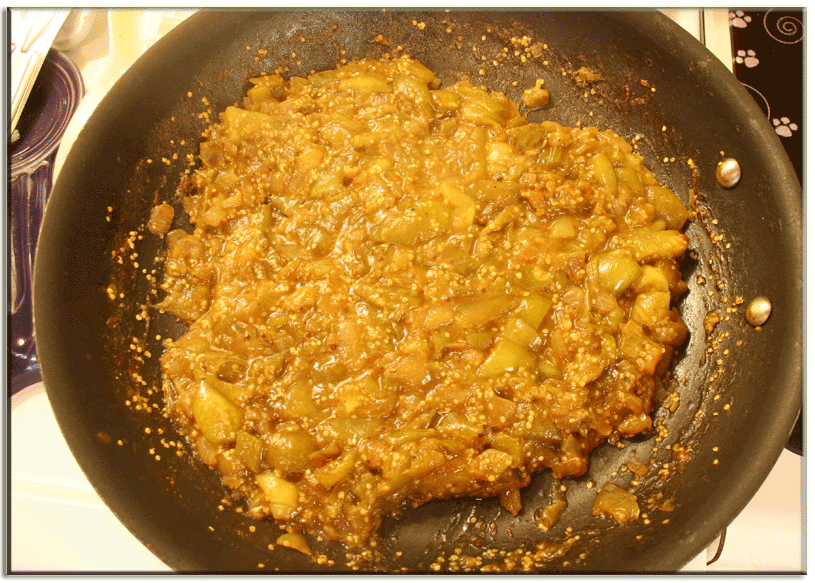 In the sauté pan add the olive oil and sauté the onions and garlic until soft, then add the diced tomatillo and remaining ingredients. Bring to a boil and then reduce heat to a simmer until liquid is evaporated by 2/3 amount. Transfer the ingredients to the bowl of a food processor and puree until smooth. Transfer the sauce back to the sauté pan and keep warm on a very low heat. In the sauté pan add the olive oil and sauté the onions and garlic until soft, then add the diced tomatillo and remaining ingredients. Bring to a boil and then reduce heat to a simmer until liquid is evaporated by 2/3 amount. Transfer the ingredients to the bowl of a food processor and puree until smooth. Transfer the sauce back to the sauté pan and keep warm on a very low heat. | ||
5. | Casserole: With the peppers stuffed and the sauce ready now we can go ahead and assemble the casserole. Coat the baking dish with a generous amount of butter or non-stick spray. Dredge the stuffed chilies with flour and lay them in the pan. Whip the egg whites again just a bit to ensure that they are still stiff and then fold them into the batter. 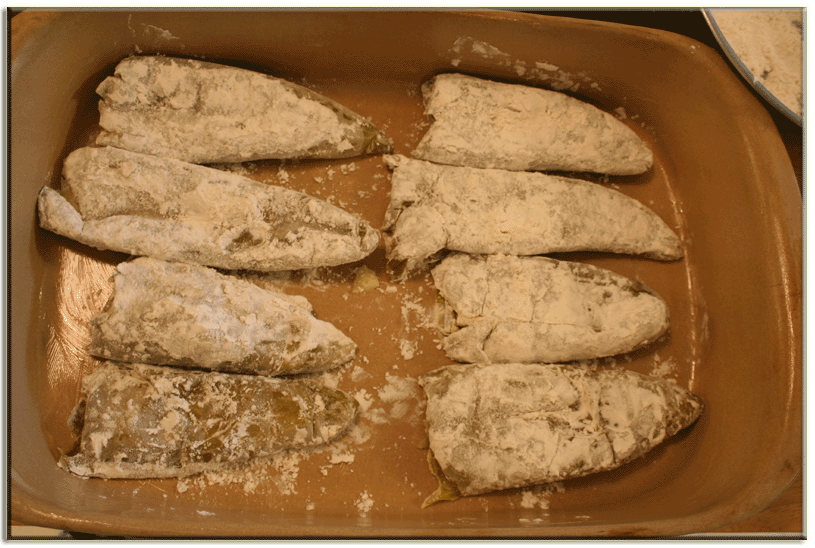 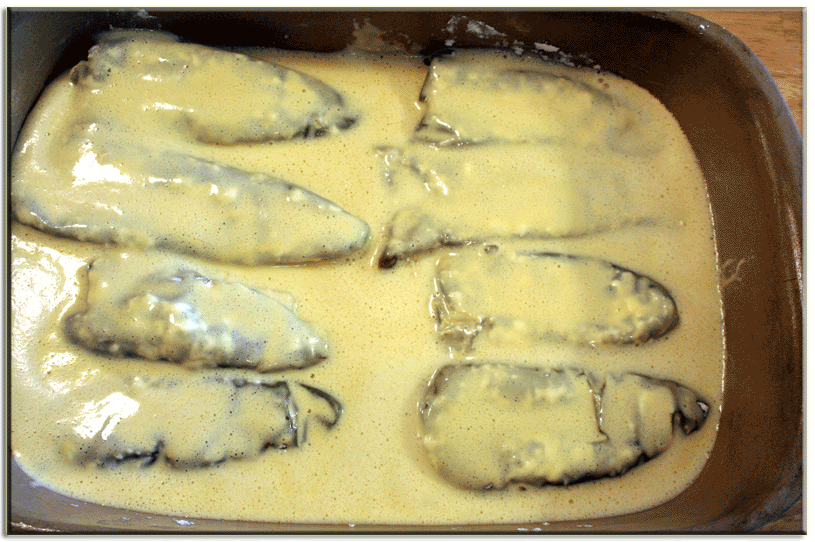 Then pour the batter evenly over the top of the chilies, (Optional: sprinkle with a little paprika) and place this into the oven for 15 minutes or until the batter is set and browned. | ||
6. | After 15 minutes remove from the oven and turn on the broiler. Sprinkle the remaining shredded Jack cheese evenly on the top of the casserole and place the baking dish under the broiler for a few minutes to melt and brown the cheese. Remove from the broiler and allow to rest for a few minutes then serve the portions on plates and topped off with the Salsa Verde. See serving suggestion at top of this recipe. | ||
Recipe Courtesy of cajunchefryan.rymocs.com
I hope you have a lovely day!
xoxo Cassidy :-)